How to make photos look like film
A film photo isn't just a phone photo with a warm tint. It's a mix of how film handles light and colour, the small flaws it picks up, and how people shoot when every frame counts. Here's what makes the difference, and how to get each part on a phone.
By the DisCam team ·

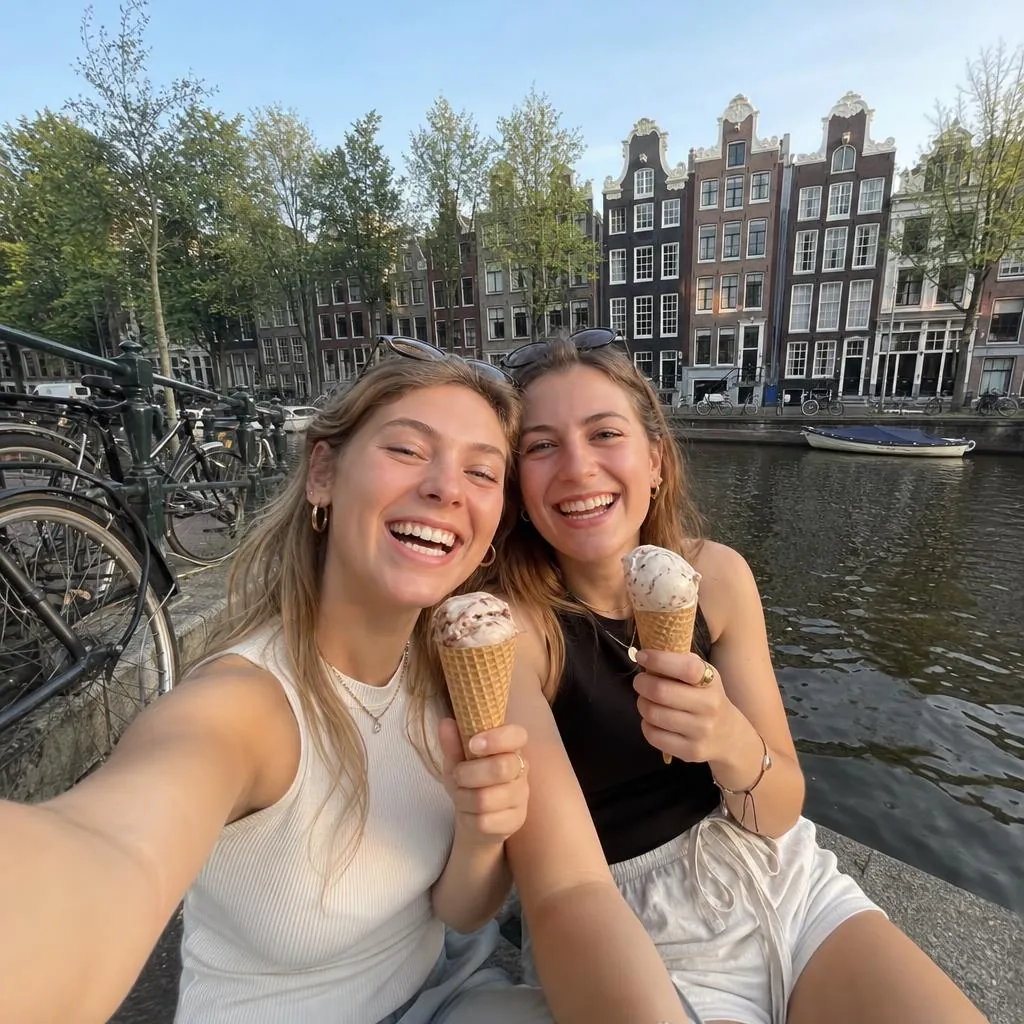
Original
Warm 35
Soft
Mono 400
1. Start with the light
Film looks best in soft, low or warm light: an hour or two before sunset, an overcast day, a window to one side. Midday sun gives harsh shadows on any camera, but film is less forgiving of it than a phone, which quietly combines several exposures.
If you can only change one thing, change when you shoot. A good film recipe on golden-hour light will always beat a heavy filter on a flat, overhead-lit photo.
2. Shift the colour, don't just warm it
Every film stock renders colour in its own way. Some push greens towards teal, some make skin glow, some cool the shadows and warm the highlights. That uneven shift is what makes colour look like film, rather than a single orange layer over everything.
In DisCam, each of the ten films sets its own white balance, saturation and the tint of its shadows and highlights. Warm 35 leans golden, Dusk goes cool in the shadows and rosy in the highlights, and Chrome makes colours vivid.
3. Add grain, and keep it subtle
Grain is the random texture of film, strongest in mid-tones and shadows. A little gives a photo texture and hides the over-sharpened look of phone pictures. Too much looks like noise.
Start low and turn it up only for black and white, where heavier grain often suits the photo. DisCam's Grain slider works per film, and Mono 400 is grainy on purpose.
4. Soften the contrast at the ends
Film rolls off bright highlights gently instead of clipping them to white, and many stocks have blacks that are slightly lifted or tinted rather than pure black. That's the "faded" quality people like.
Look at the darkest part of a photo. If it's perfectly black and the sky is pure white, it will look digital, whatever the colour. Fade and Soft in DisCam lift the blacks; Noir does the opposite on purpose.
5. Let bright lights glow
On film, very bright light spreads into the layers around it and leaves a red-orange glow, called halation, around street lamps, the sun and white edges. Lenses on cheap cameras also soften the corners and darken them slightly.
These are small effects, but they're a big part of why a film photo feels "soft" next to a phone photo. Every DisCam film includes its own halation, vignette and softness.
6. Keep the imperfections
Light leaks, a date stamp in the corner, the white border of a print, a caption written underneath: none of them are about image quality, but they're what make a photo look like an object you could hold.
Use one or two at a time. A light leak, an orange date and a heavy fade on every photo quickly becomes a costume.
7. Shoot like you only have 24 frames
The most film-like thing you can do has nothing to do with editing. With a limited roll, people wait for the moment, frame it once and move on. The photos are more candid and less repetitive, and that shows.
That's why DisCam works in rolls with a counter, and why Disposable mode hides each shot until you develop the whole roll.
Doing it in DisCam
Putting it all together takes a few taps:
- Load a roll and pick a film. Warm 35 is a good first choice.
- Choose Instant to see each print develop, or Disposable to see them all at the end.
- Style the date stamp, or save prints without it.
- Adjust Intensity and Grain until the look suits the light, and add a light leak if you want one.
- Shoot fewer, better frames.